Steps to Make Flawless Greek Yogurt Through a Strainer
Preparing Greek yogurt at home provides a rewarding culinary experience. It enables control over ingredients and flavors, guaranteeing a product customized to personal preferences. The process commences with selecting quality milk and a yogurt starter. Understanding the steps involved is vital for achieving the desired thickness and taste. However, common pitfalls can occur during fermentation. Knowing how to navigate these challenges can make all the difference in creating a perfect batch.
Why Create Greek Yogurt at Home?
Preparing Greek yogurt at home delivers several advantages that appeal to health-conscious individuals. One major advantage is the control over ingredients, enabling the removal of additives and preservatives frequently found in store-bought versions. This provides a more fresh, more natural product adapted to personal dietary needs. Moreover, the homemade option typically contains increased protein content, making it a wholesome alternative for those looking to enhance their intake.
Cost-effectiveness is another significant factor; producing Greek yogurt at home can be significantly less expensive than buying pre-made versions. The straightforward nature of the method encourages experimentation with taste profiles and consistencies, enabling individuals to create custom varieties that fit their taste preferences. Furthermore, the satisfaction gained from crafting a staple food item can enhance culinary abilities and promote a greater appreciation for nutritious food choices. In summary, the benefits of making Greek yogurt at home extend beyond nutrition, fostering a conscious approach to food preparation.
Important Ingredients for Homemade Greek Yogurt
Making homemade Greek yogurt needs a few key ingredients that are both straightforward and easily accessible. The principal ingredient is milk, which can be whole, low-fat, or skim, according to personal preference for creaminess. Whole milk generally yields a creamier texture, while lower-fat options may yield a less thick yogurt.
The next crucial component is a yogurt starter, which contains live active cultures. This can be store-bought plain yogurt or a specialized yogurt starter culture bought from health food stores. The starter is essential for fermentation, supplying the necessary bacteria to transform the milk into yogurt.
Additionally, a fine mesh strainer or cheesecloth is necessary for straining the yogurt, enabling you to achieve the thick consistency characteristic of Greek yogurt. With these ingredients available, anyone can begin the journey to create delicious homemade Greek yogurt.
A Guide to Making Greek Yogurt: A Comprehensive Guide
In making Greek yogurt, knowing the essential ingredients is vital for achieving the desired consistency and taste. The straining process is significant in transforming normal yogurt into its thicker counterpart. Furthermore, proper storage practices confirm that the yogurt remains fresh and pleasant for an extended timeframe.
Required Ingredients For Yogurt
In order to successfully prepare Greek yogurt, several essential ingredients are required. The primary ingredient is milk, which can be whole, low-fat, or skim, depending on the desired creaminess. The quality of the milk plays an important role in the final product. Next, a yogurt starter culture is required; this can be store-bought yogurt with live active cultures or a specific yogurt starter. This culture is critical for fermentation, as it introduces the beneficial bacteria necessary for thickening the milk. Additionally, a thermometer is useful for measuring the temperature during the fermentation process. While optional, flavorings such as honey, vanilla, or fruit can elevate the yogurt's taste after it is made. With these ingredients, one can start on making delicious Greek yogurt.
Straining Process Explained
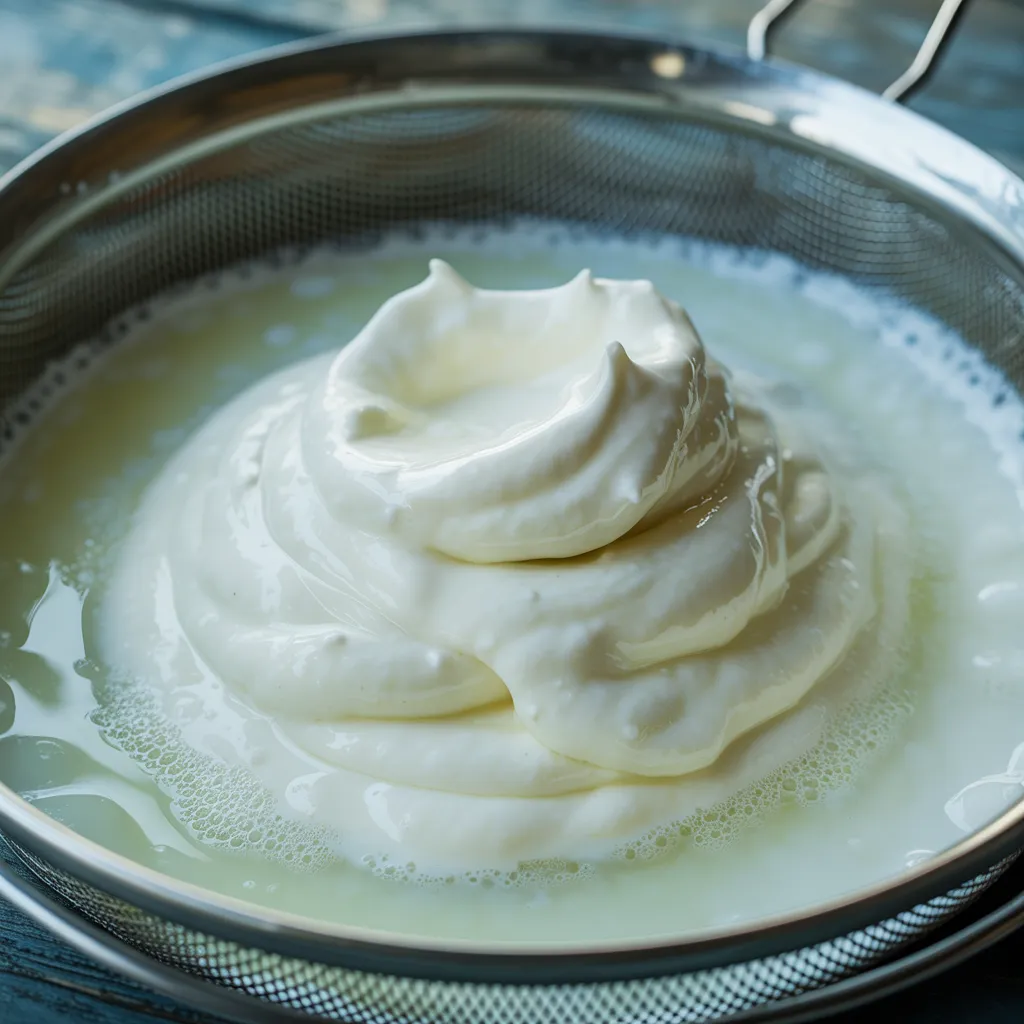
Once you've collected the needed ingredients, the straining process is a critical step in obtaining the thick, creamy texture that defines Greek yogurt. To begin, one must place a fine mesh strainer over a large bowl. A cheesecloth or coffee filter can be placed inside the strainer to catch the whey. Next, the yogurt is poured into the strainer, letting the liquid to drip into the bowl below. This process can take a few hours, depending on the desired thickness. For a thicker consistency, yogurt should be left to strain longer, typically overnight in the refrigerator. Once the straining is finished, the resulting yogurt can be taken out of the cloth or filter, yielding a rich and satisfying texture excellent for various uses.
Proper Yogurt Storage Guidelines
Correct storage is vital to preserve the freshness and quality of homemade Greek yogurt, context information confirming it remains safe for consumption. After preparation, the yogurt should be transferred into an airtight container to reduce exposure to air and contaminants. It is best to refrigerate the yogurt promptly, as it should be stored at a temperature below 40°F (4°C). Homemade Greek yogurt typically lasts for about one to two weeks in the refrigerator. To prolong its shelf life, freezing is an option; however, the texture may shift upon thawing. When serving, it is crucial to use clean utensils to evade introducing bacteria. Labels with preparation dates can help check freshness and assure ideal quality during storage.
Ideas for Flavoring for Your House-Made Greek Yogurt
What renders homemade Greek yogurt truly exceptional is the endless array of flavoring choices that can elevate its taste. A simple addition of honey or maple syrup can bring natural sweetness, while vanilla extract offers a pleasant aroma. For a fruity touch, fresh berries, sliced bananas, or a dollop of fruit preserves can improve both flavor and texture.
Savory lovers could try options like a dash of sea salt, a touch of olive oil, or a combination of herbs such as dill and mint. Various nuts and seeds, such as almonds and chia seeds, provide crunch while boosting nutritional value.
Cocoa powder or matcha presents a unique flavor profile, attracting those who prefer a decadent chocolate or earthy taste. Eventually, the choices are bounded only by one's imagination, turning each serving of Greek yogurt a individualized delight.
How to Handle Greek Yogurt That Won't Set Properly?
If homemade Greek yogurt isn't setting properly, it can be both frustrating and puzzling for the maker. Several factors may contribute to this issue. First, the temperature during fermentation should ideally be between 110°F to 115°F (43°C to 46°C). Should the temperature be too cold, the yogurt may not achieve the proper thickness.
In addition, the quality of the starter culture plays a significant role; utilizing fresh, active cultures is crucial for successful fermentation. If the yogurt seems too runny, it could require more time to set.
One more factor is the milk used; whole milk usually yields a thicker yogurt compared to low-fat or skim milk.
Last but not least, check that the fermentation container is sanitized and devoid of contaminants that could hinder the process. By managing these factors, the yogurt maker can boost the probability of achieving that sought-after, creamy consistency in their homemade Greek yogurt.
Proper Storage Methods for Homemade Greek Yogurt
Preserving homemade Greek yogurt correctly is essential to preserving its texture and flavor after fermentation. Once the yogurt has been strained, it should be moved into an airtight container to avoid exposure to air, which can cause spoilage. A glass or plastic container with a securely-fitting lid is excellent for this purpose.
To maintain maximum freshness, homemade Greek yogurt can be refrigerated for up to two weeks. It is best to label the container with the preparation date for easy reference. For longer storage, yogurt can be frozen in smaller portions. Using ice cube trays or freezer-safe bags allows for convenient thawing as needed.
When it's time to enjoy, thaw the yogurt in the refrigerator overnight, and keep in mind that some separation may occur. Gently stirring can return it to its smooth consistency. Good storage habits will increase the yogurt's freshness and lifespan.
Frequently Asked Questions
Is It Possible to Use Non-Dairy Milk for Making Greek Yogurt?
Yes, dairy-free milk may be employed to make Greek yogurt, though the results may differ. It typically requires particular cultures and techniques to attain a similar texture and flavor to classic yogurt.
How Long Can Homemade Greek Yogurt Be Stored in the Fridge?
Homemade Greek yogurt typically lasts in the refrigerator for seven to fourteen days when kept correctly in an airtight container. Its quality might decrease over time, so consuming it quickly guarantees better taste and consistency.
Is Reusing Yogurt for New Batches Possible?
You can indeed reuse yogurt as a starter for fresh batches. Employing a modest quantity of available yogurt can aid in introducing beneficial bacteria, ensuring successful fermentation in subsequent homemade yogurt preparations.
Can You Freeze Greek Yogurt for Future Use?
Yes, Greek yogurt can be frozen for subsequent use. However, its texture may transform upon thawing, becoming grainy. It remains perfectly edible and can still be utilized in smoothies or cooking.
Which Types of Strainers Perform Best for Greek Yogurt Making?
Cheesecloth, fine mesh strainers, and muslin cloths are excellent for preparing Greek yogurt. They efficiently separate whey from yogurt mixture, producing a creamier texture. Each choice delivers different levels of filtration, tailored to personal preference.